
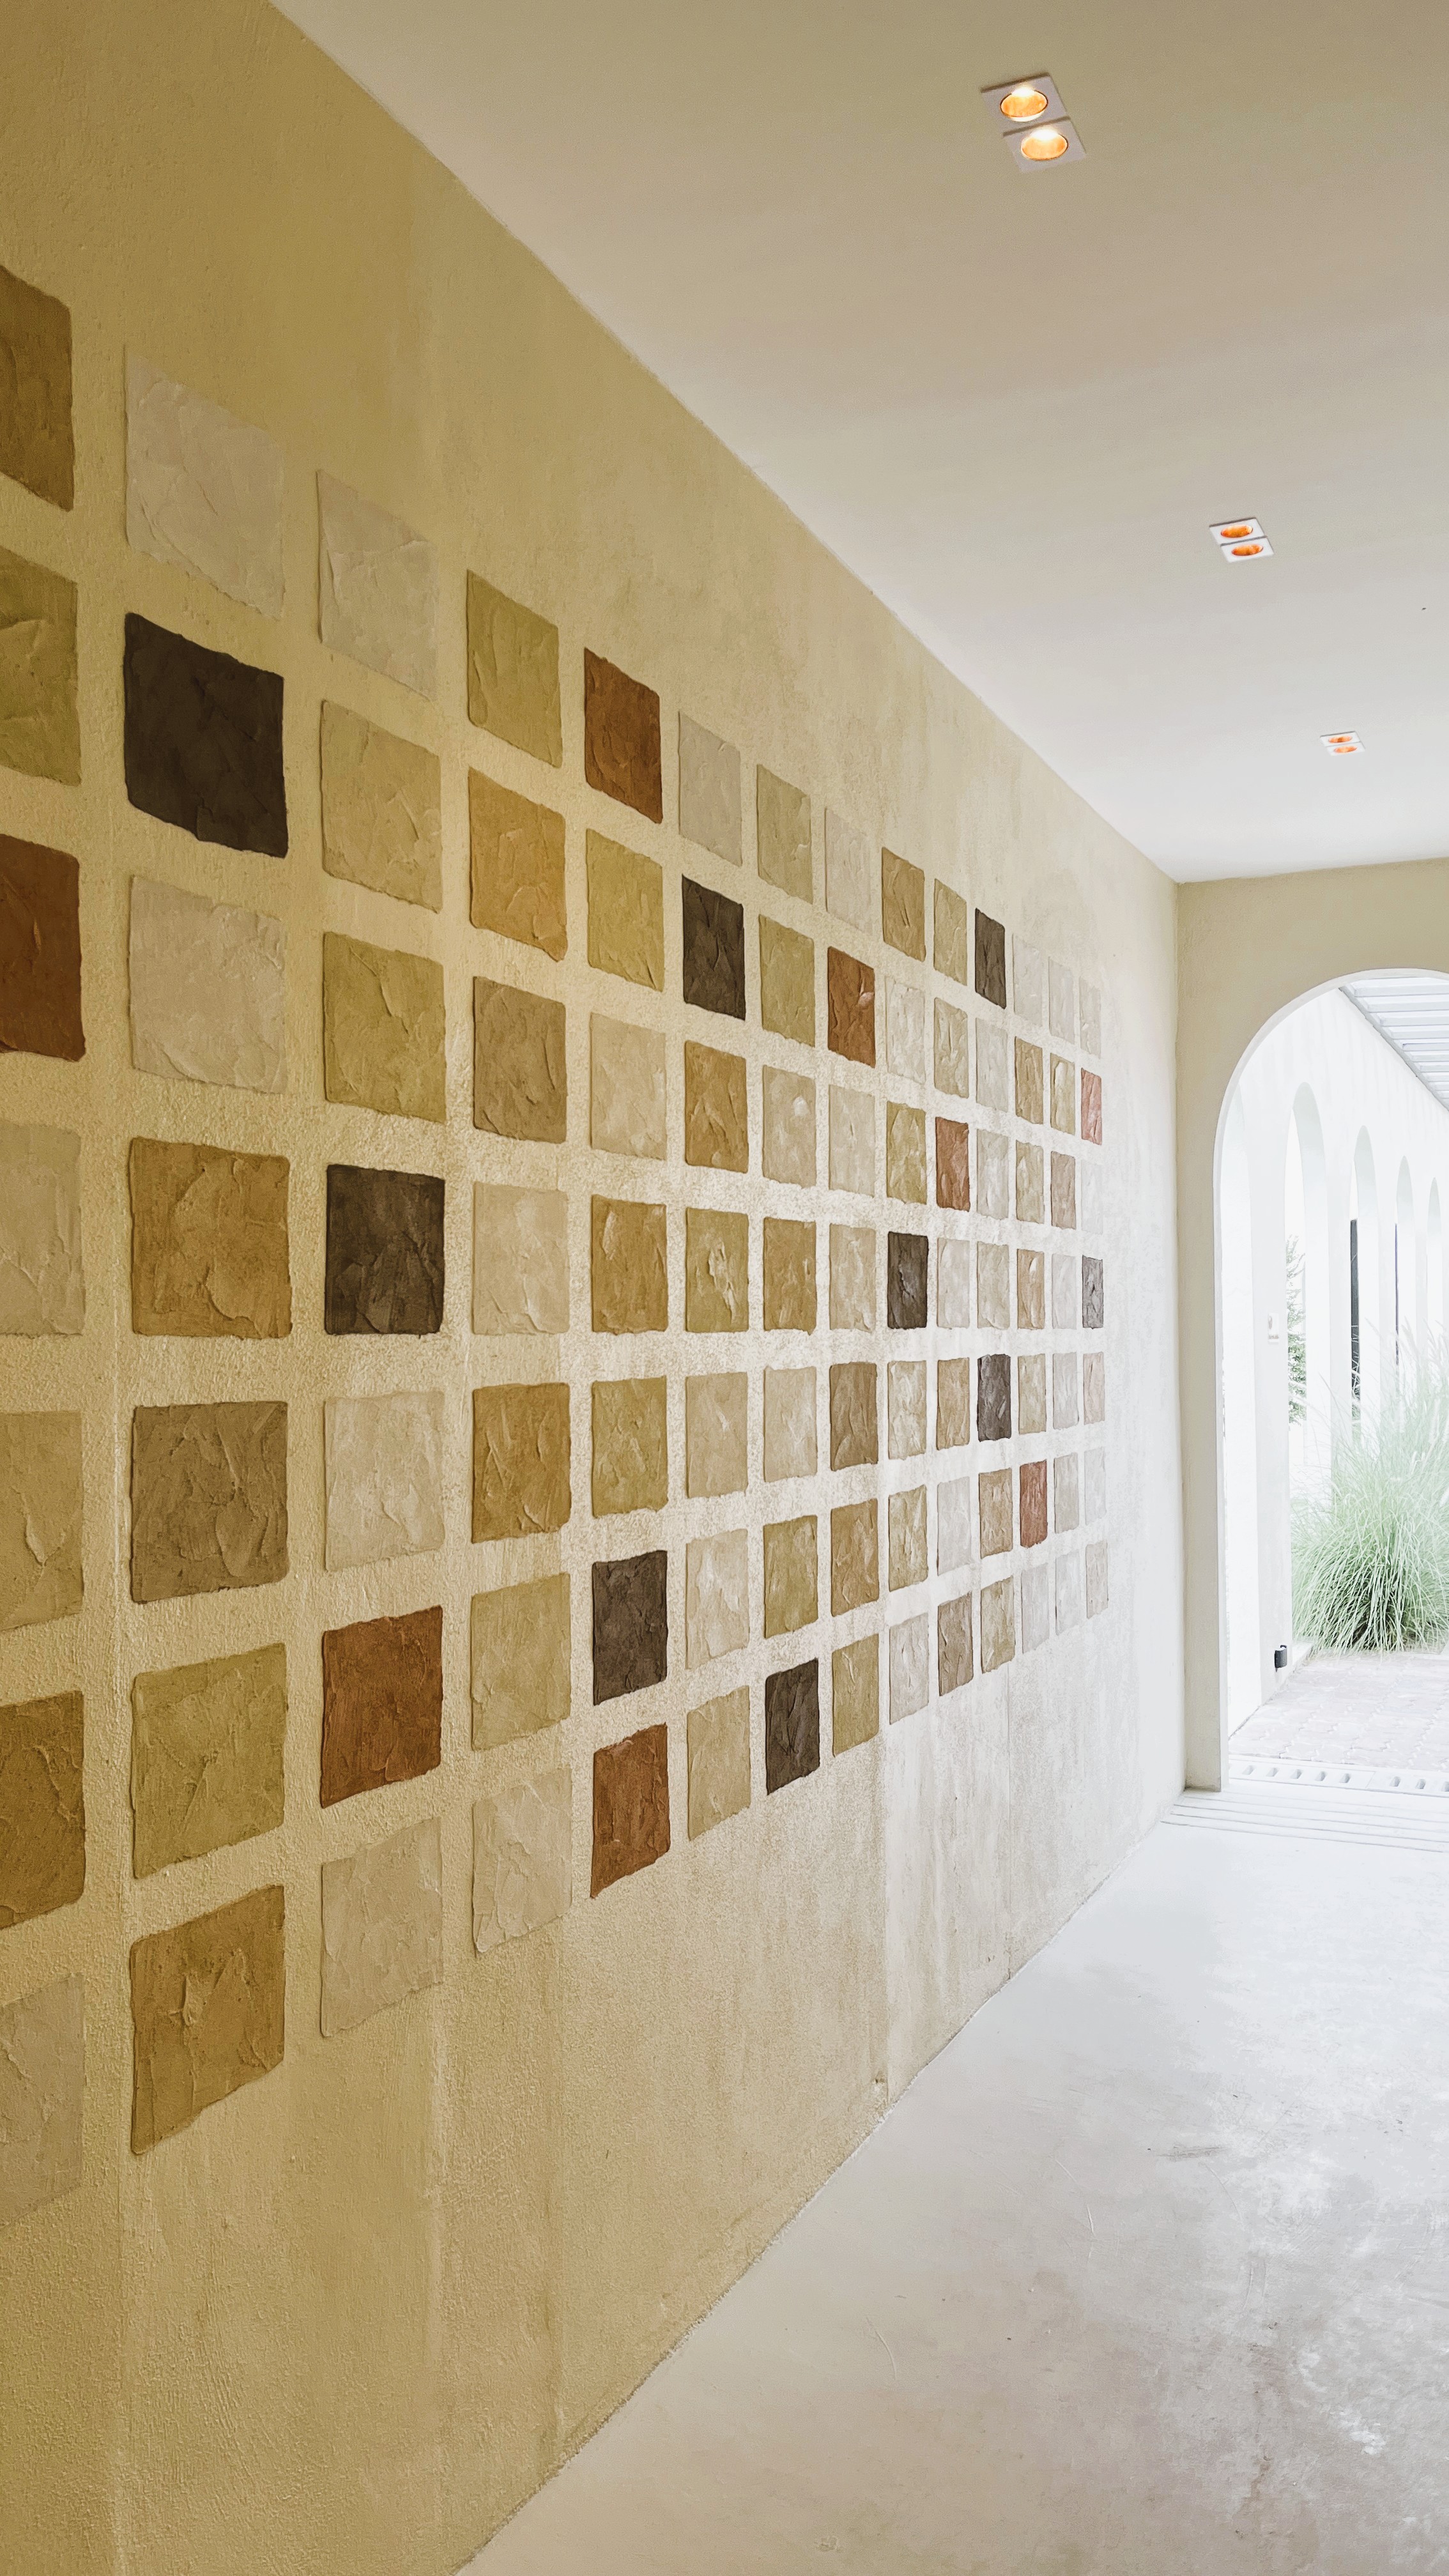
A Beginner's Guide to Venetian Plaster
If you've been hearing about Venetian plaster but aren't sure what it is or whether it's suitable for your home, this beginner's guide will help you understand everything you need to know.
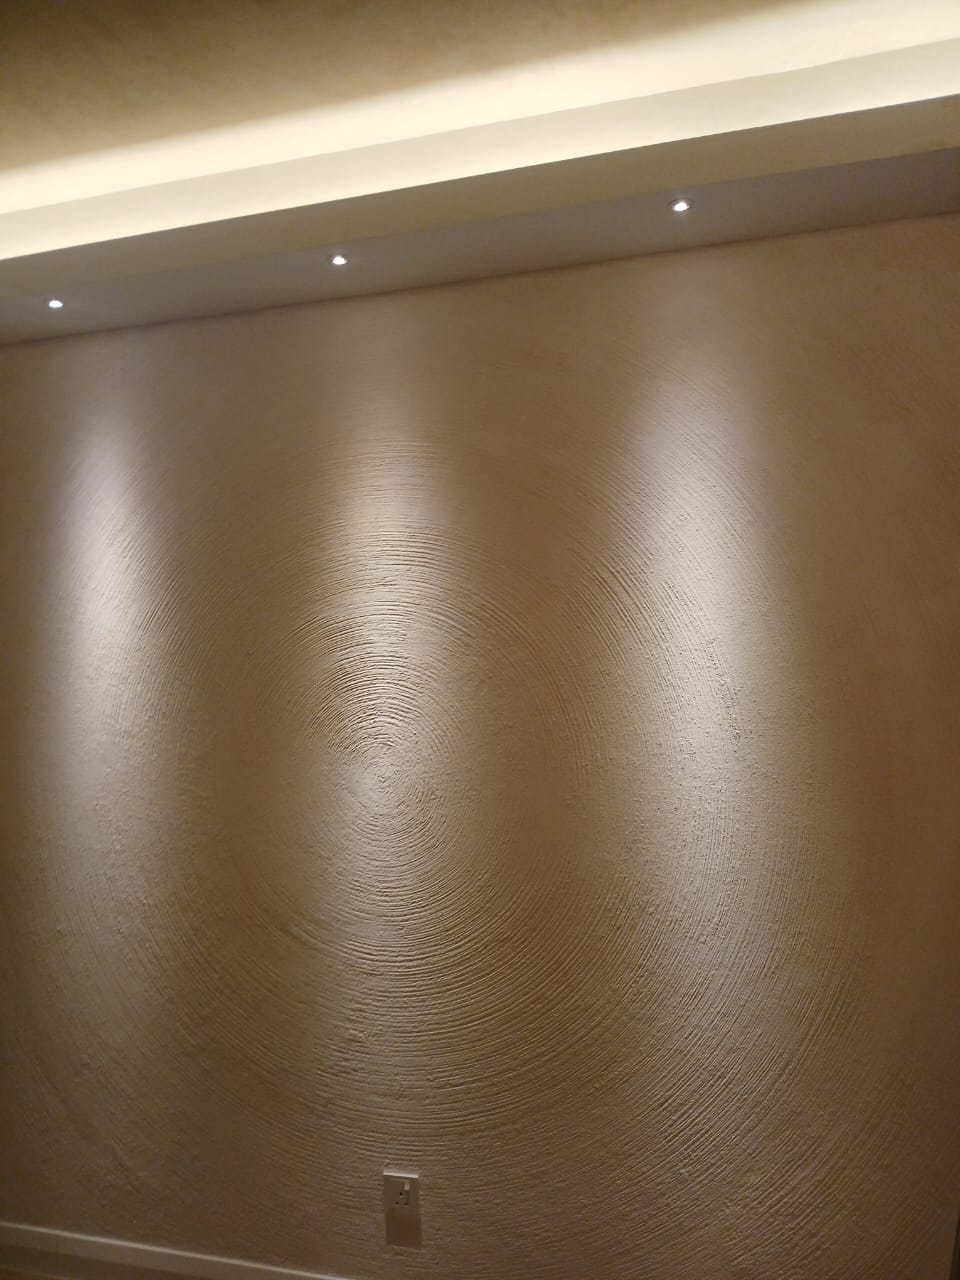
What Is Venetian Plaster?
Venetian plaster is a decorative wall finish made primarily from natural lime and marble powder. Unlike ordinary paint, it is applied by hand using specialized trowels in multiple thin layers, creating a smooth, stone-like surface with natural movement and depth.
How Does Venetian Plaster Application Work?
Applying Venetian plaster is different from painting a wall. Instead of using a roller or brush, the material is carefully applied by hand using a stainless steel trowel. The process requires patience, technique, and attention to detail to achieve the signature smooth, natural finish.
Here's a basic overview of how the application process works:
Step 1: Prepare the Surface.
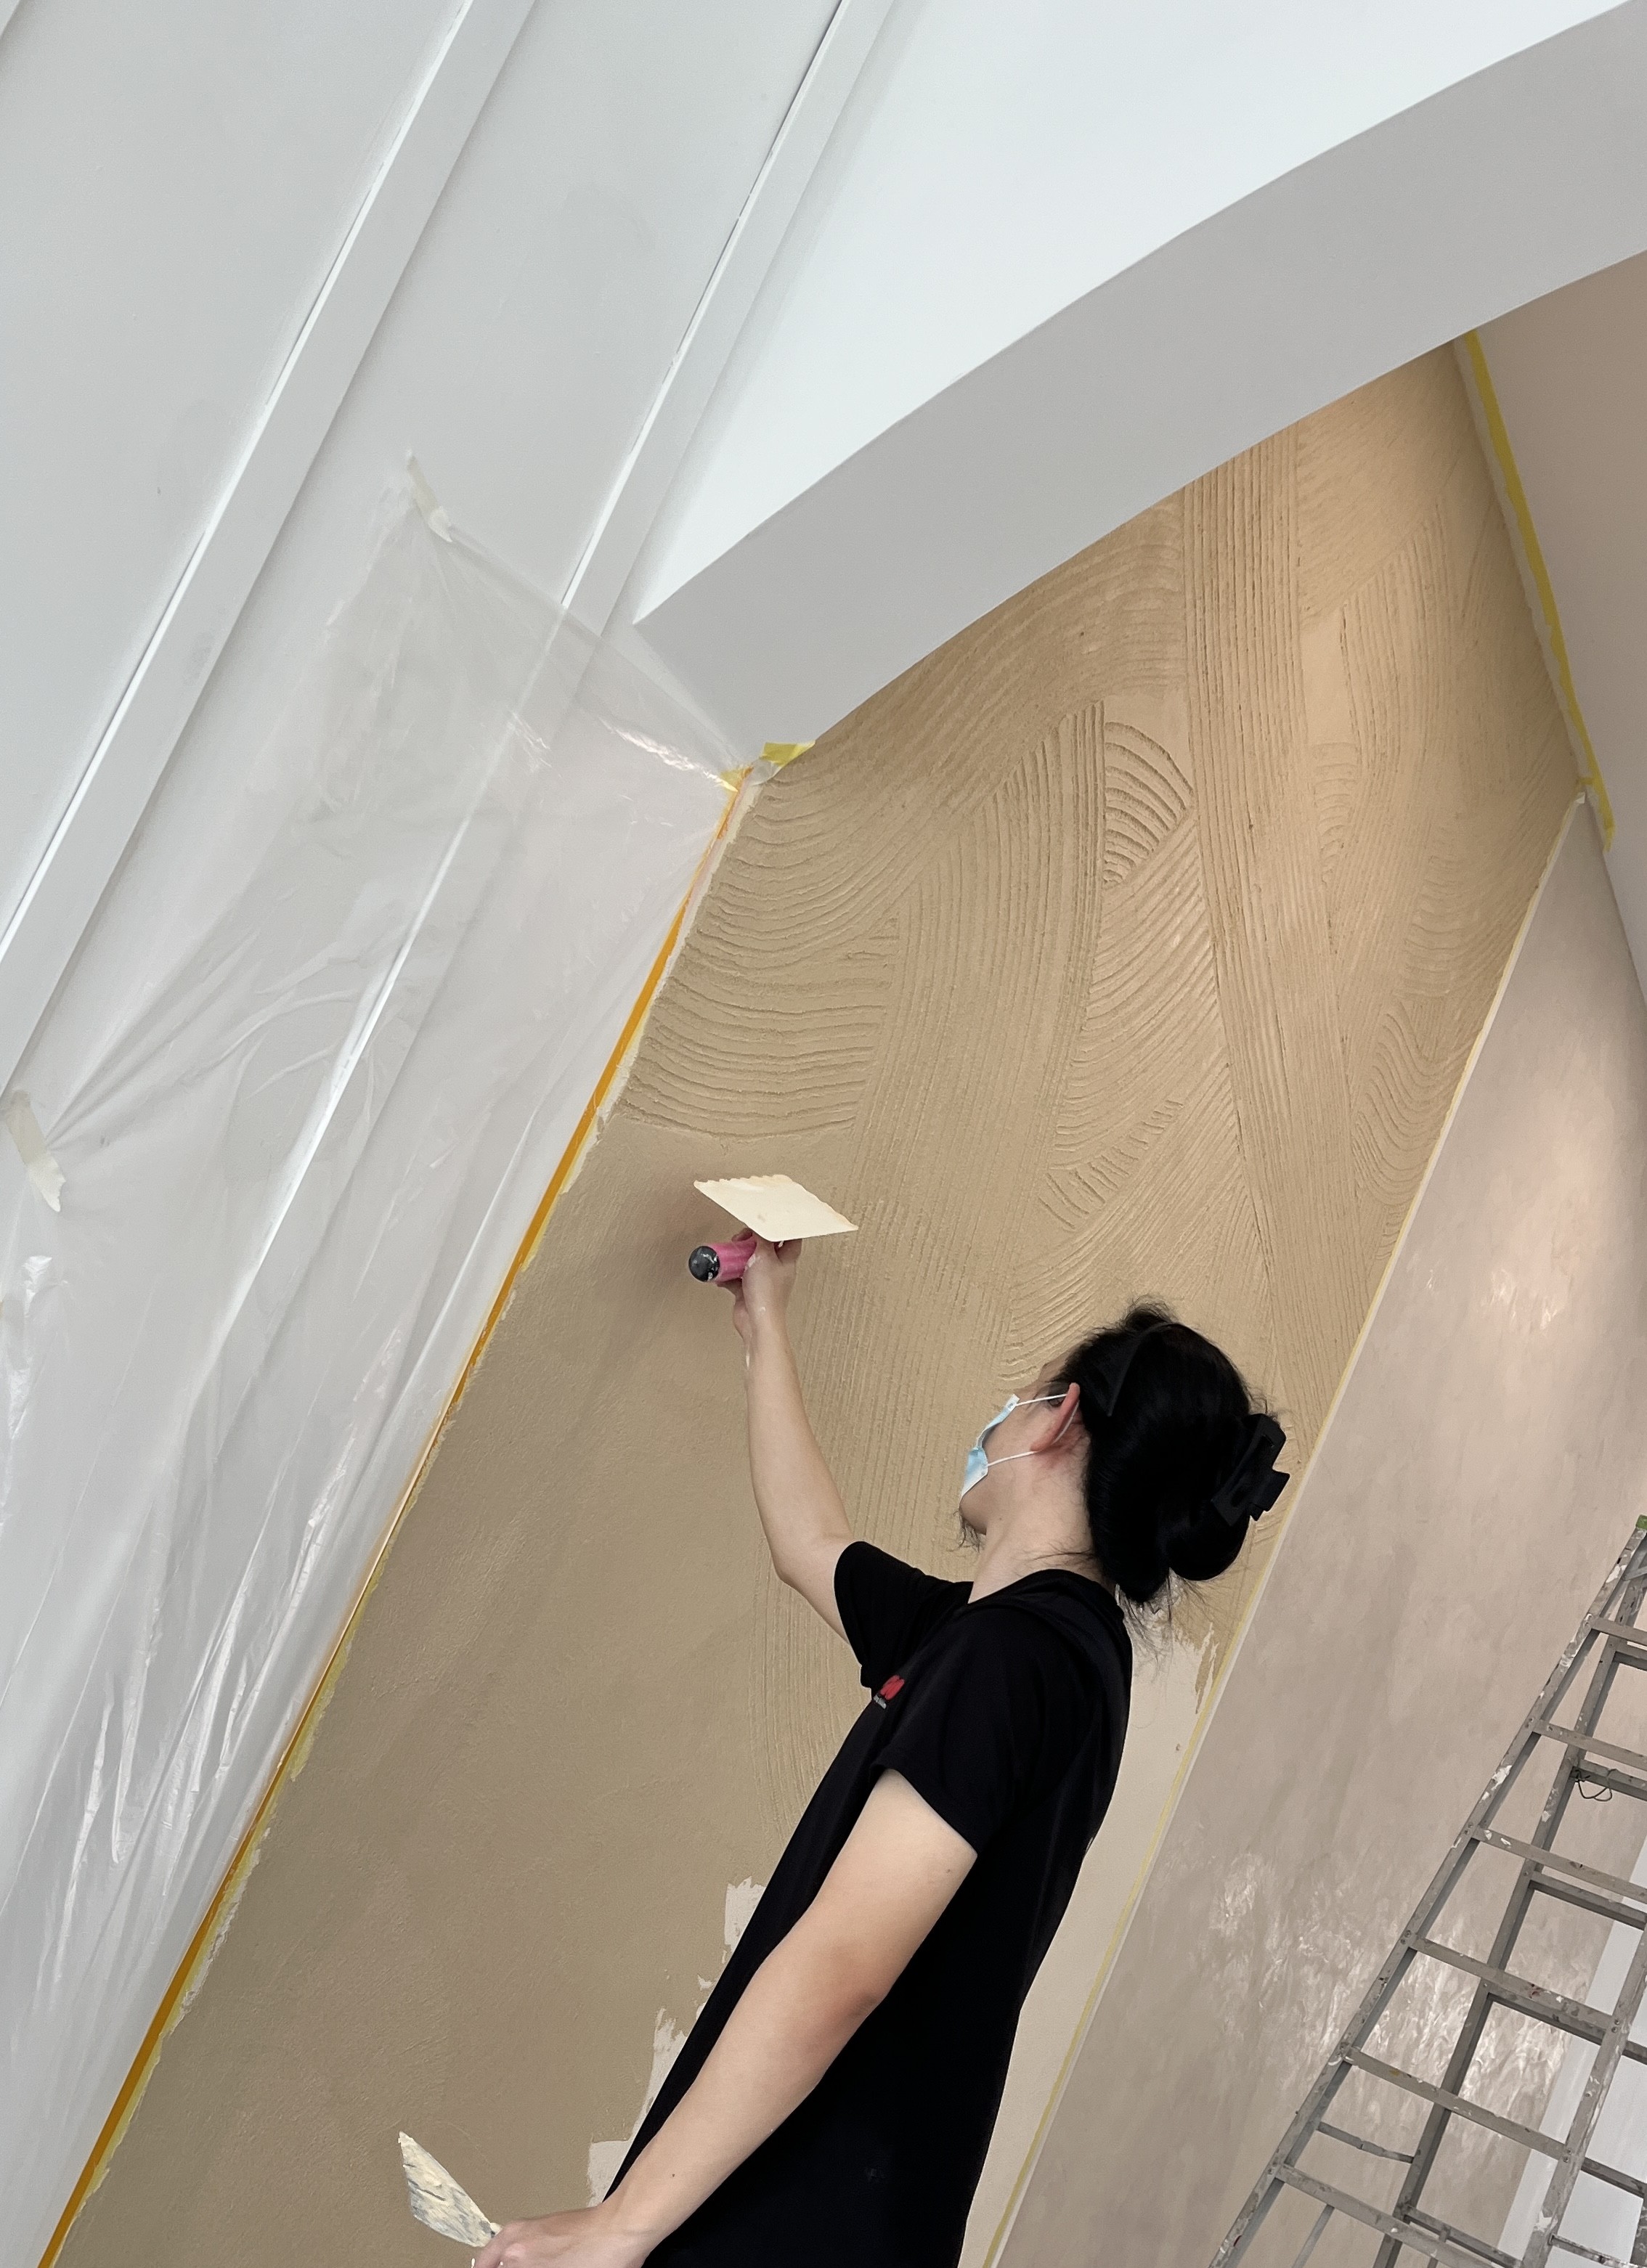
A clean, smooth, and stable surface is essential. Any cracks, holes, or uneven areas should be repaired before application. Dust, grease, and loose paint must also be removed to ensure good adhesion.
Step 2: Apply a Mineral Primer.
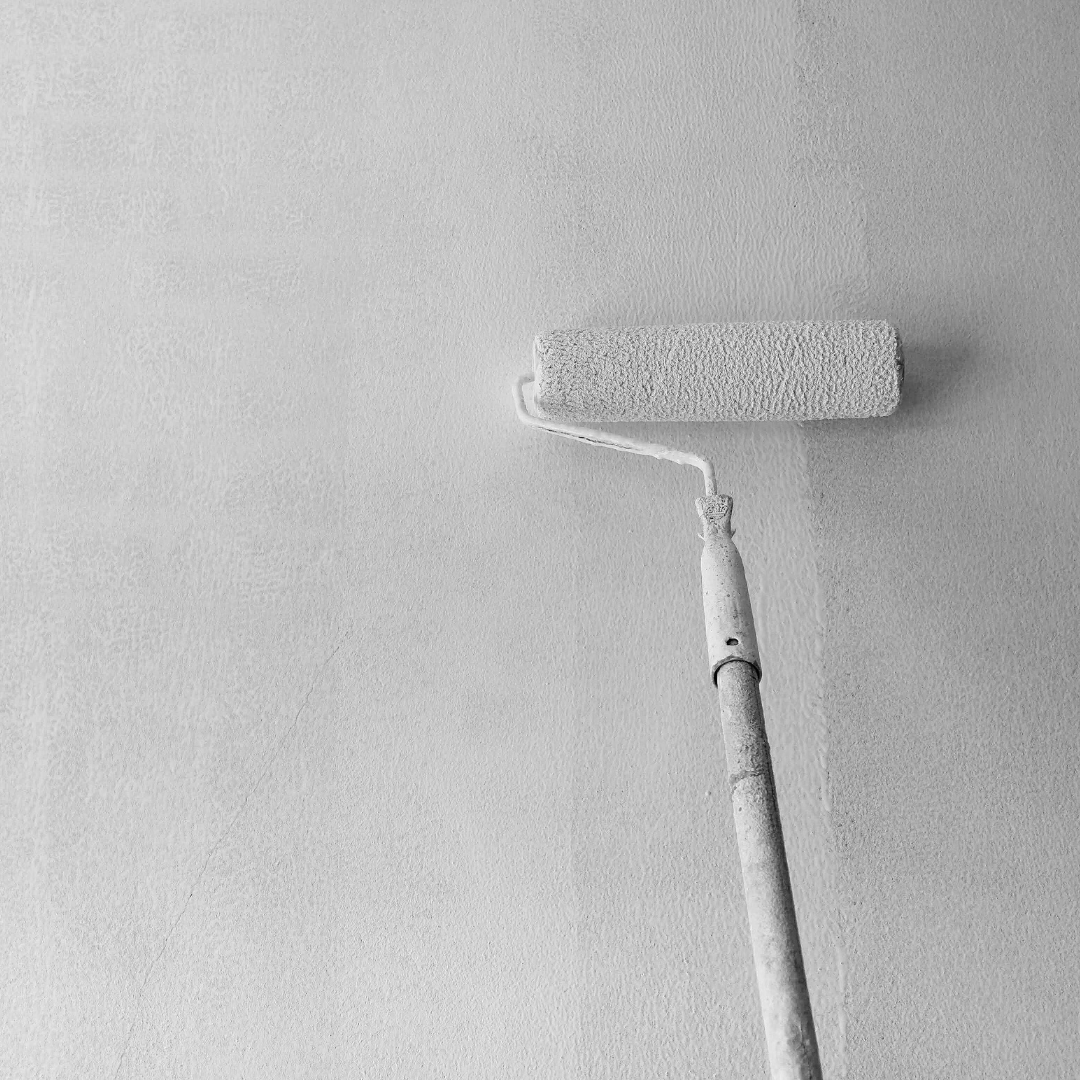
A mineral primer helps create an even surface and improves the bonding between the wall and the Venetian plaster.
For the best results, recommends using Mineral Primer before applying any Venetian plaster finish. The primer also helps ensure more consistent colour and absorption across the wall.
Step 3: Apply the First Coat.
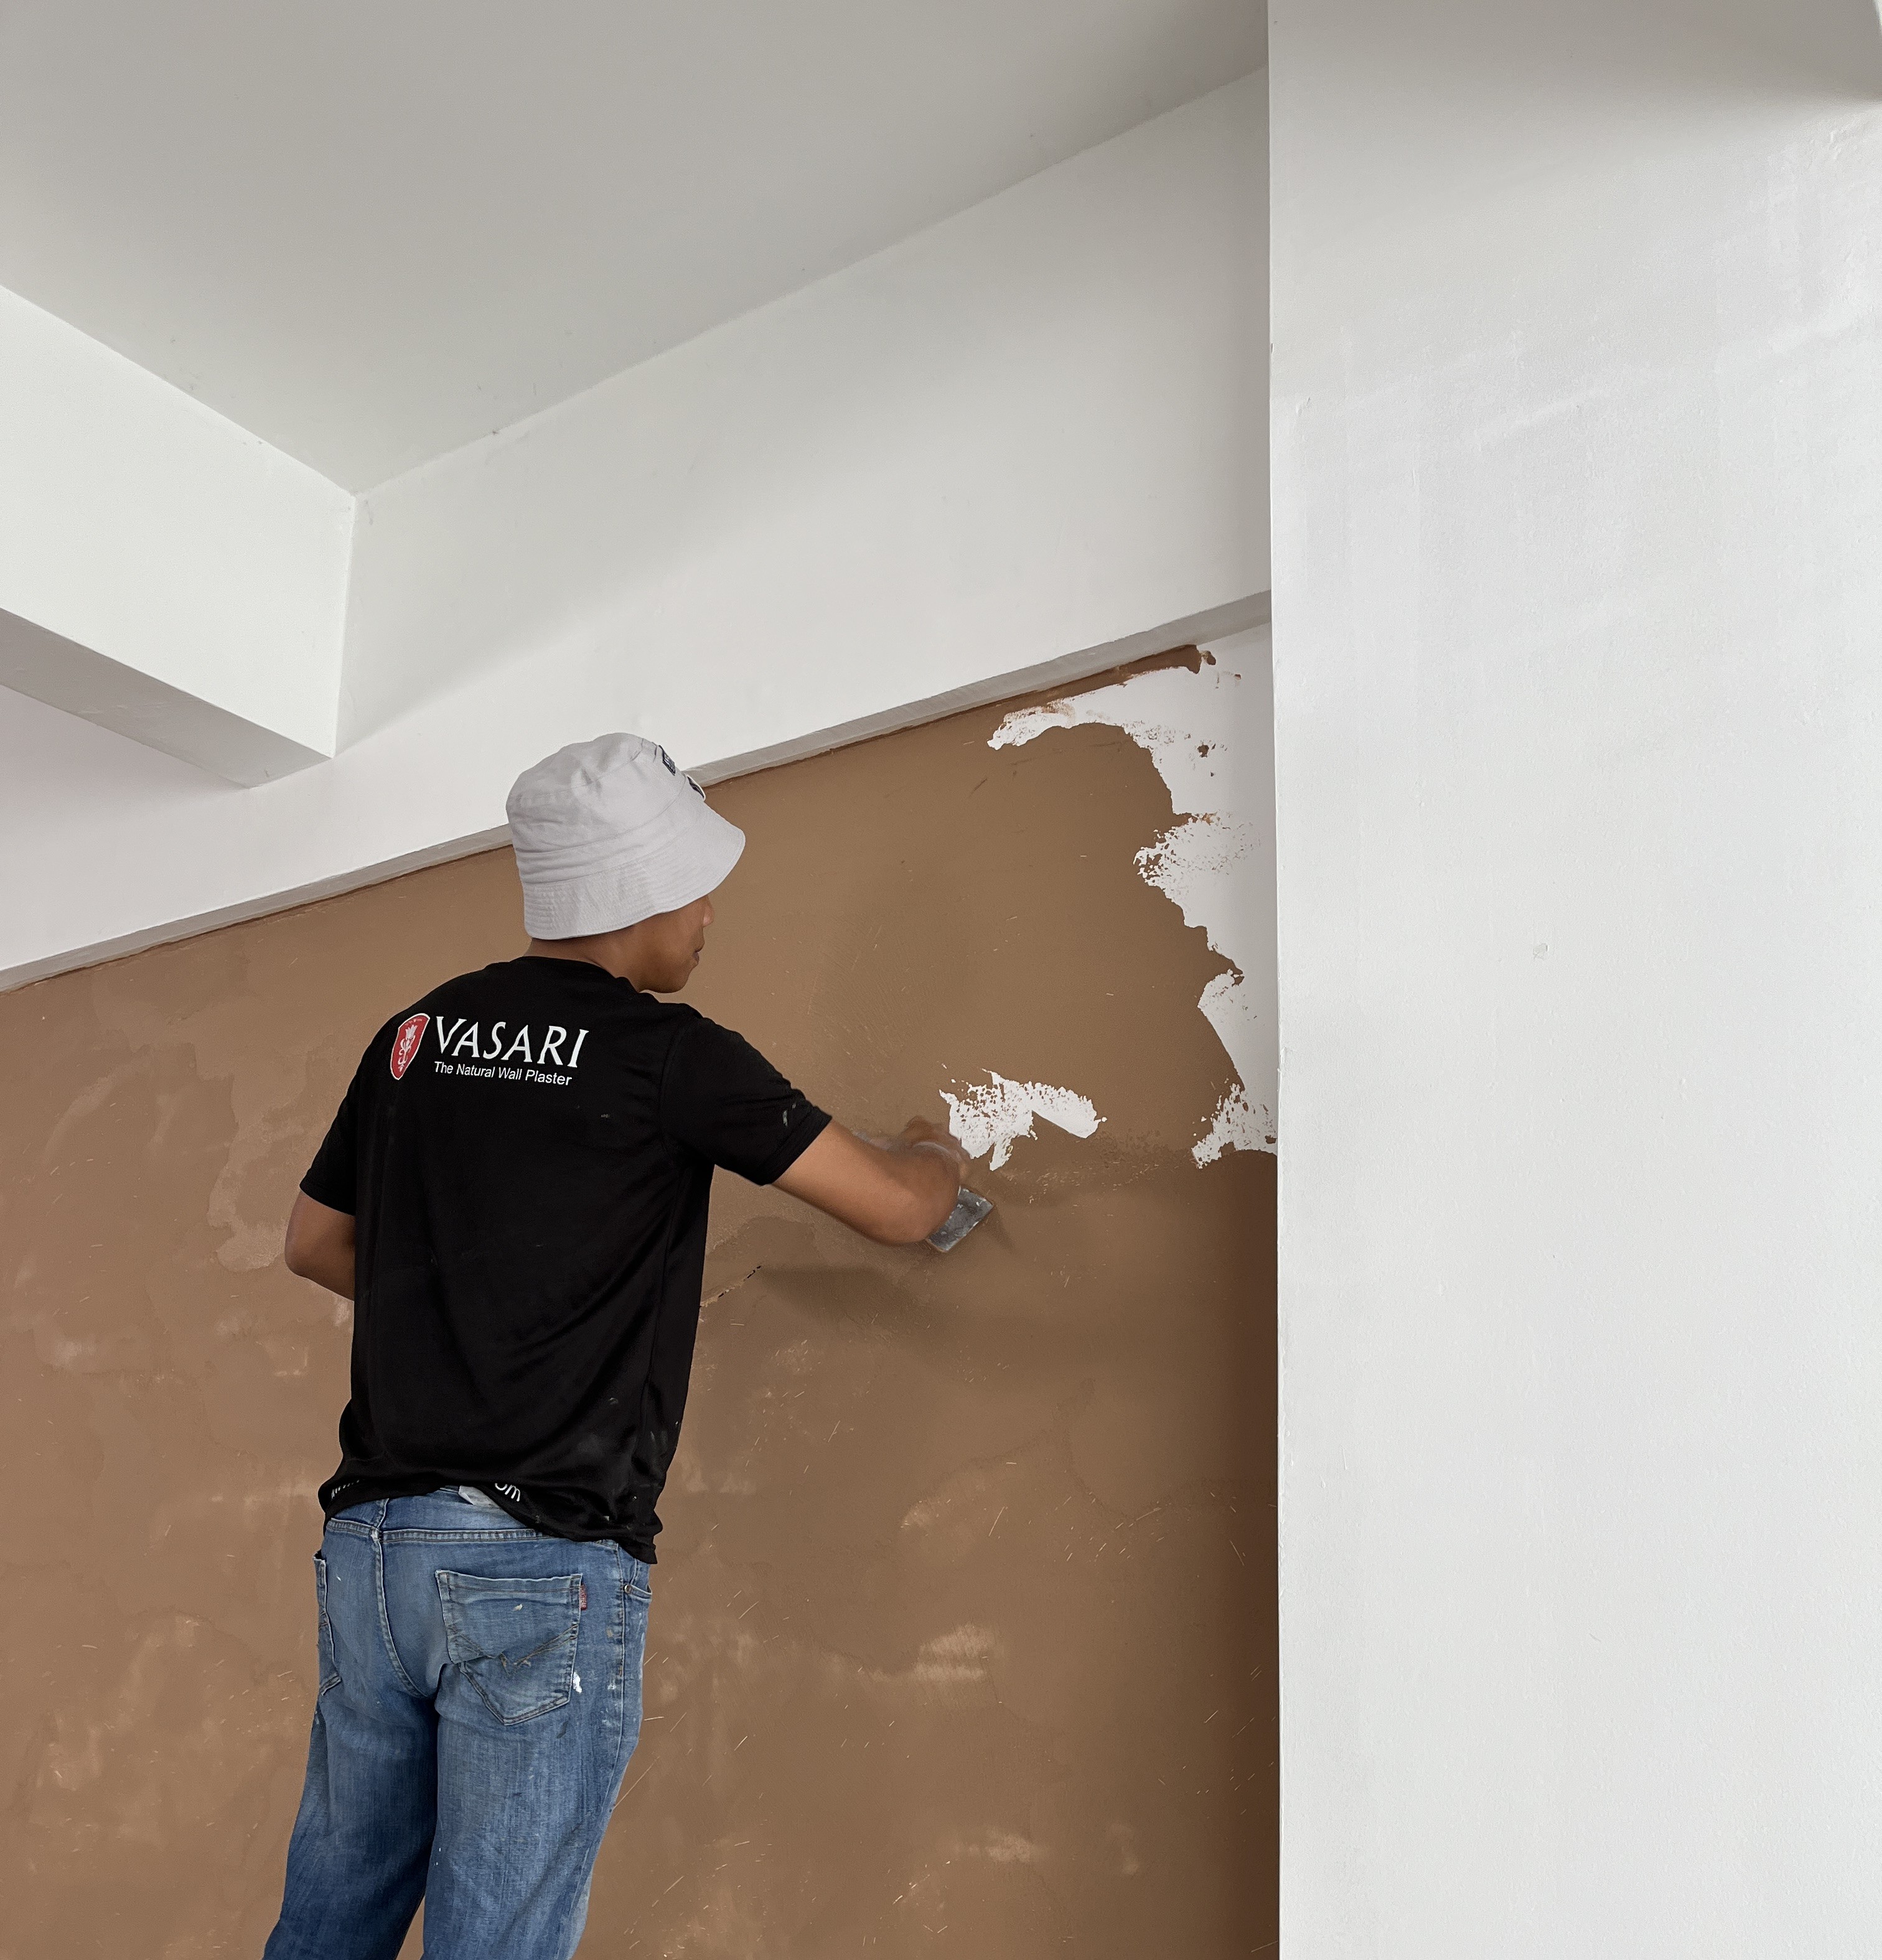
The first coat is applied thinly with a stainless steel trowel. This layer acts as the foundation and is spread evenly across the wall.
After application, allow the plaster to dry completely before moving to the next coat.
Step 4: Build the Texture with Additional Coats.
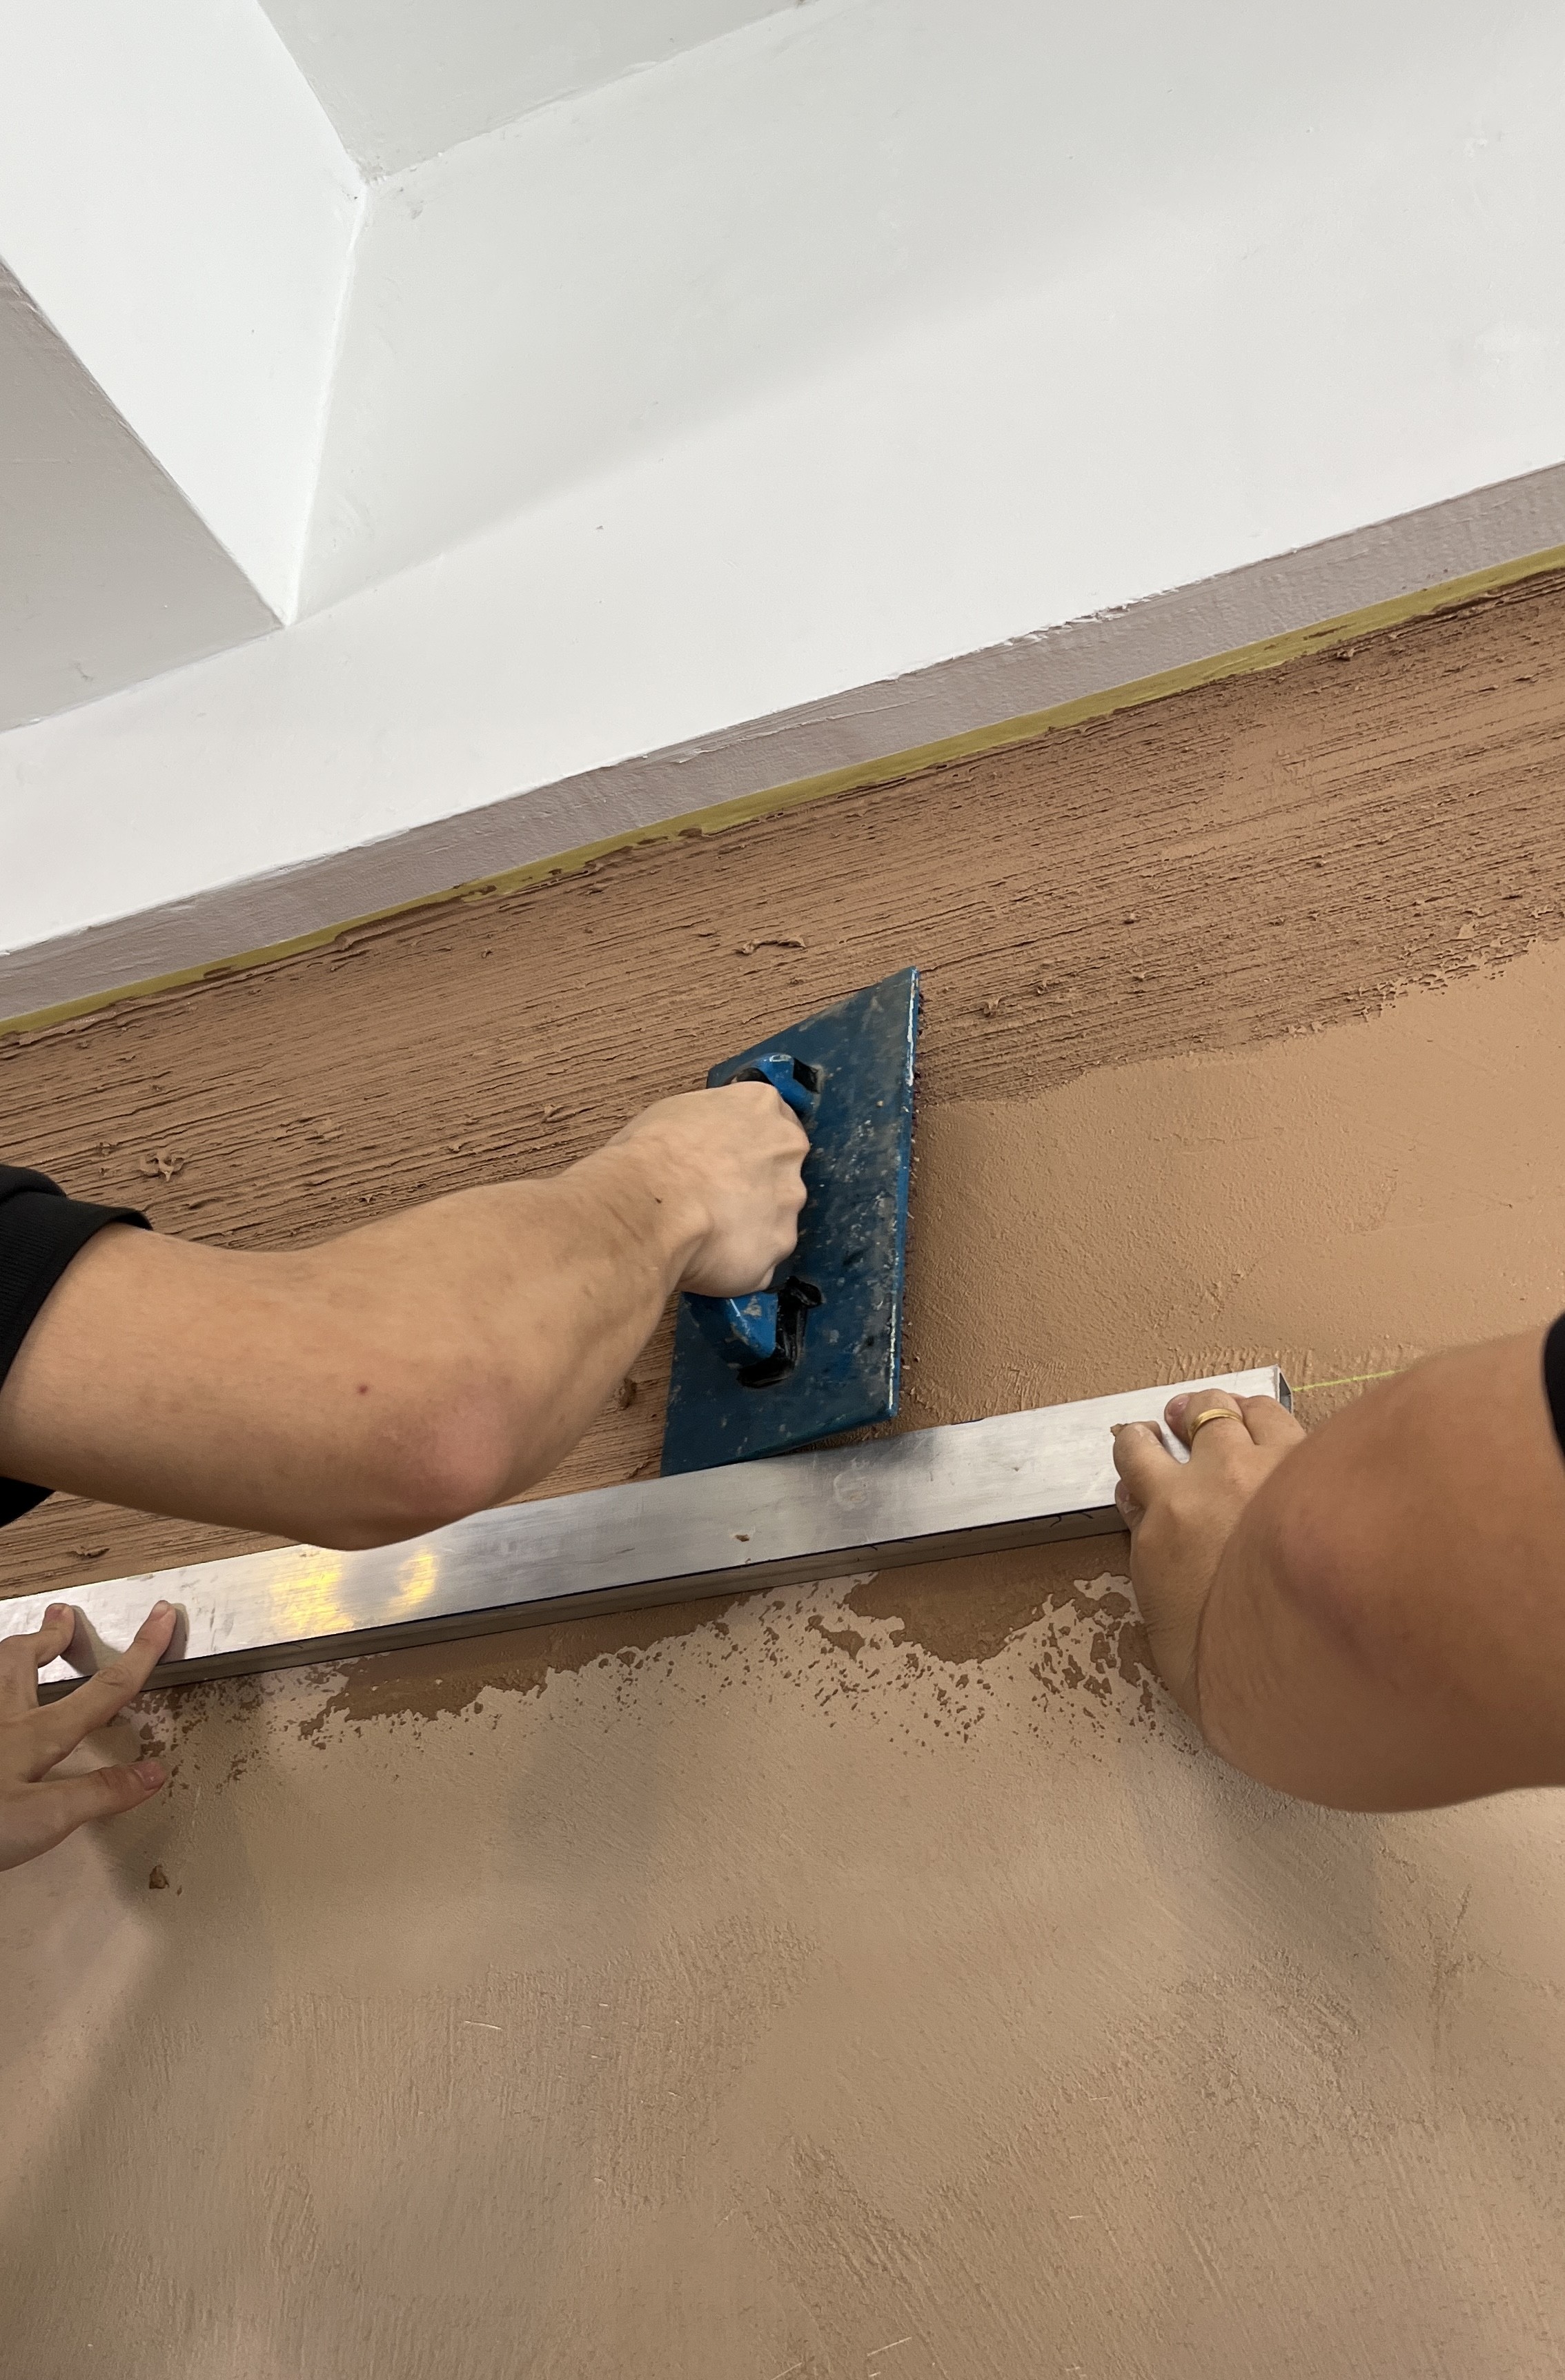
One or more additional coats are then applied using overlapping trowel strokes. This is where the beauty of Venetian plaster begins to appear. At this stage, you can also get creative by creating different effects, such as a natural limestone finish, using various trowel techniques.
The movement of the trowel creates subtle variations in tone and depth, giving each wall its unique handcrafted character.
Step 5: Burnish the Surface.
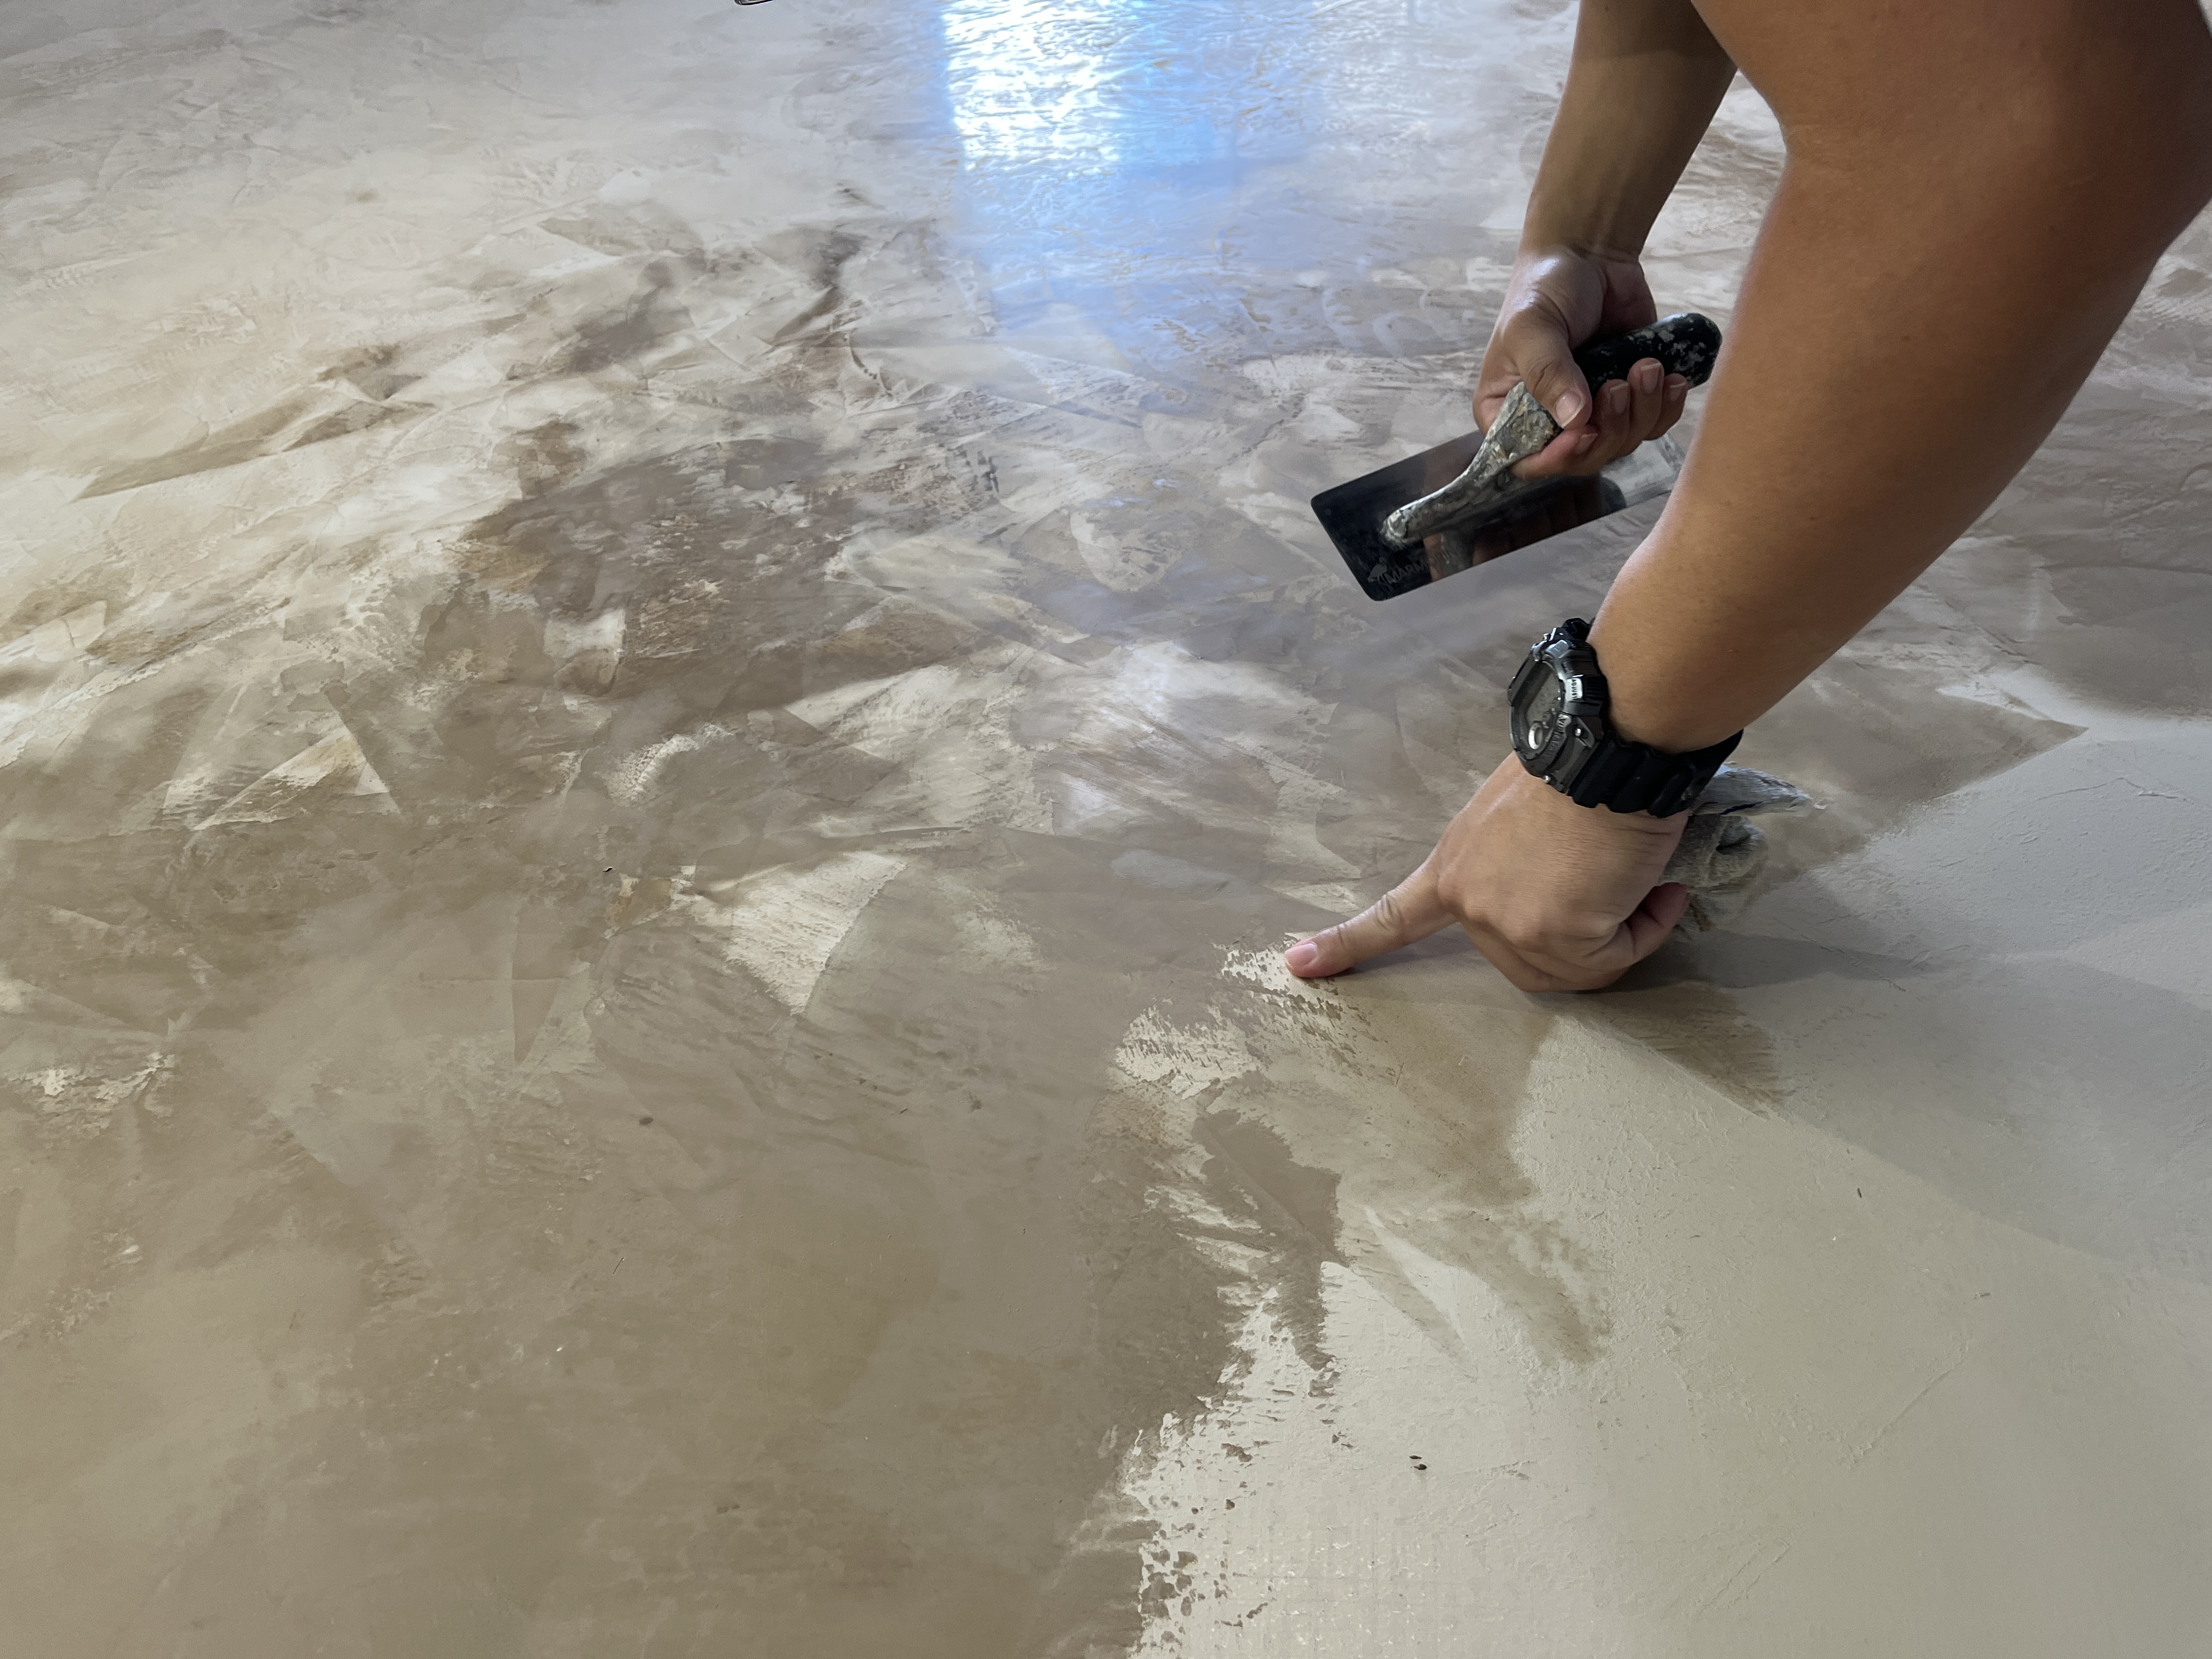
Depending on the desired finish, the final coat may be burnished using a clean stainless steel trowel.
Burnishing compresses the lime plaster, creating a smoother surface and enhancing its natural depth and subtle sheen.
Step 6: Apply a Protective Top Coat (Optional).
For areas that require extra protection, a protective top coat or sealer can be applied after the plaster has fully cured.
Top Coat helps improve stain resistance and makes the surface easier to maintain, while preserving the natural beauty of the Venetian plaster finish.
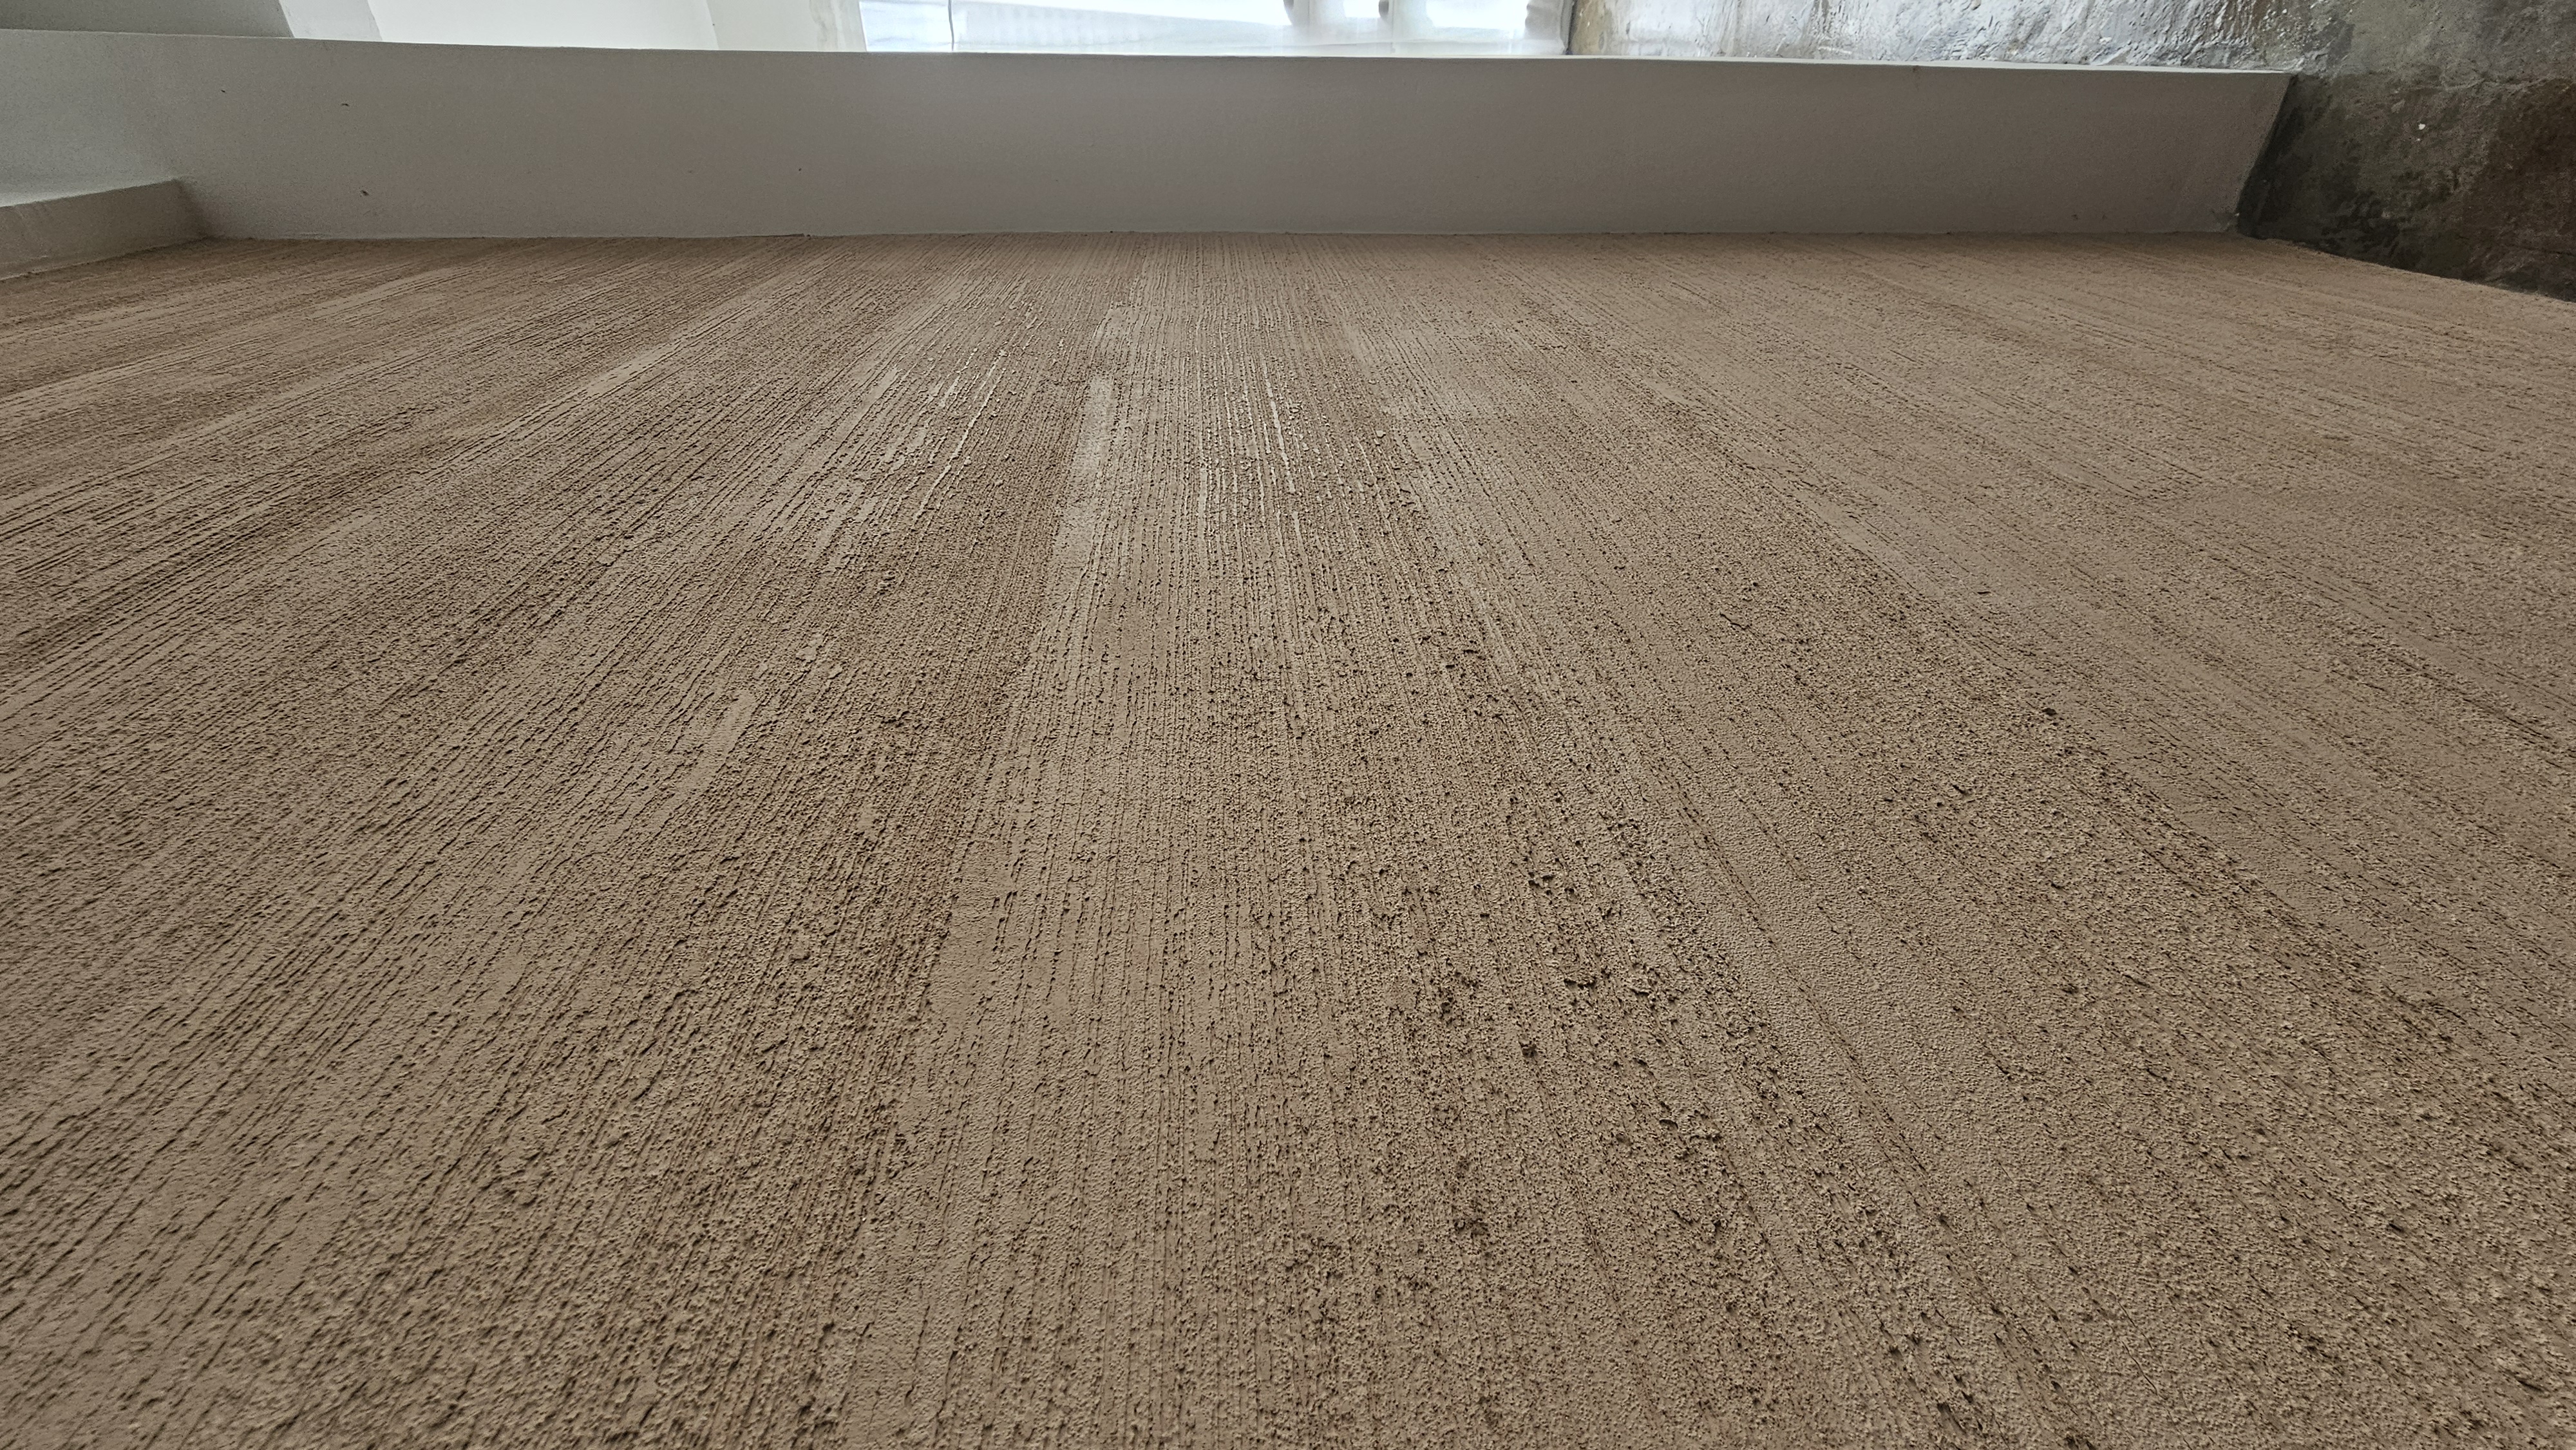
Beginner's Tip: Although Venetian plaster looks simple, achieving a professional finish requires practice and proper technique. If you're new to decorative plaster, consider attending a training workshop or working with an experienced applicator before starting larger projects.